Prepare the supports
- Depending on the type of support and its old coating, plan a few hours before you start laying the future wallpaper.
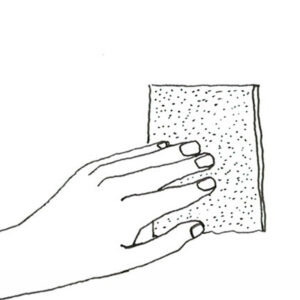
- Walls should be properly prepared and sanded with the correct grit of sandpaper.
Painted Walls
Wash with special detergent for walls then rinse. On a shiny and satin paint, sand with sandpaper so that the glue can hold.
New or porous walls
Apply an undercoat for plaster or pre-gluer 24 hours in advance. This protects the wall and allows the wallpaper to take off without damaging the wall.
Before you start
- Rolls should be inspected lengthwise before laying.
- Choose a glue adapted to the type of paper (vinyl paper, standard, etc.).
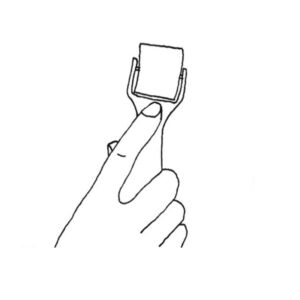
- During glueing and installation, keep a bucket of clean water and a sponge handy to remove traces of glue, clean the upholstery wheel or wash your hands.
- Dark coloured wallpapers might need a tinted touch up of the edges to avoid a white line.

- Draw a vertical line 52 cm (i.e. a standard length minus 1 cm) from the door or the corner of the wall. This is the axis along which you will lay the first length.
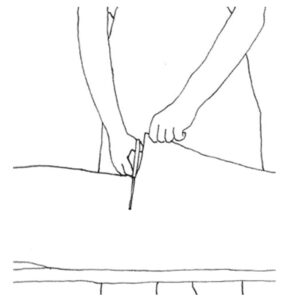
The cut
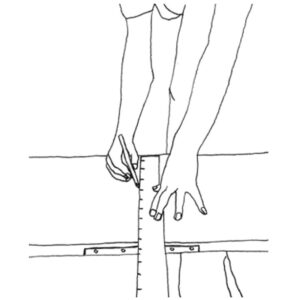
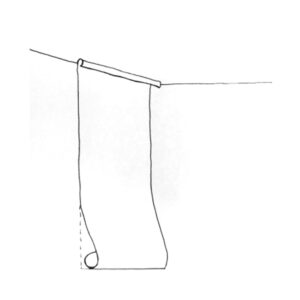
- Measure the height to be lined and add 10 cm for the levelling cuts at the top and bottom. Unroll a roll on the table and mark the length that has just been calculated.
- Fold the paperback on itself and mark the fold.
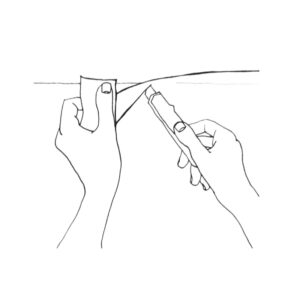
- Cut the length with scissors.
- It can also be cut with a cutter and a ruler.
- Stack the lengths on the table and number each length at the top, in the order of installation.
Glueing
Traditional wallpaper
- Lay the lengths on the table, patterns down. To prepare the glue, follow the manufacturer’s instructions to obtain the right consistency. Let the glue sit for 10 minutes before using it.
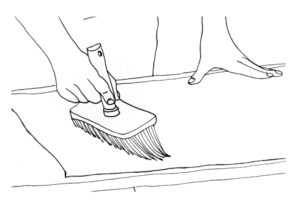
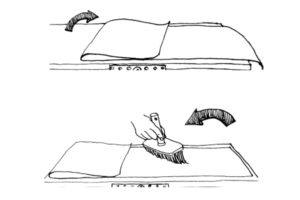
- Using the brush, glue a good half of the strip, from the centre to the edges. Insist on the edges. Fold the glued part back on itself without crushing the fold formed.
- Then do the same for the other half of the length, from the centre to the edges. Insist on the edges. Fold the glued part back on itself without crushing the fold formed.
- Then do the same for the other half. Allow the length to soak for 5 to 10 minutes.
Non-woven wallpaper
- Prepare the wallpaper glue, according to the dosages and instructions indicated on the product.
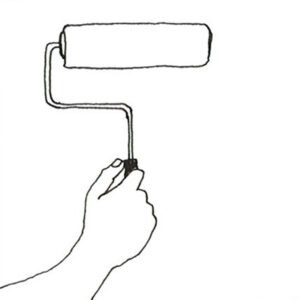
- Spread the glue directly on the wall, using a roller or a glue brush.
- Prepare the wallpaper glue, according to the dosages and instructions for use indicated on the product.
- Spread the glue directly on the wall, using a roller or a glue brush
Pre-pasted vinyl
- Provide a 55 cm wide tub filled with water to soak the length.
The pose
Traditional wallpaper
- To lay the length, start at the top:
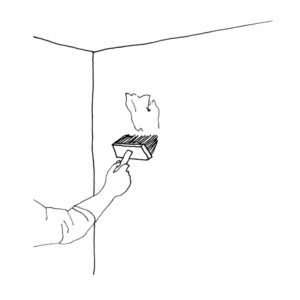
Position it according to the marks, remembering to make it protrude about 5 cm towards the ceiling for the cutout. Smooth with the upholstery brush, working from the inside out to remove the air. Check by taking a step back that the length is well-positioned. If necessary, gently peel off and replace. Unfold the entire height respecting the layout. Smooth the entire surface. Remove excess glue with a damp sponge and pass the upholsterer wheel over the edges of the lengths to glue them perfectly. Repeat the operation for all the following lengths.

Non-woven wallpaper
- To hang the non-woven wallpaper, start from the top of the wall:
Unroll the roll and position the paper, without cutting it (unless it has seams) along with the guideline. Make it exceed in height by about 5 cm for the cut. Smooth the wallpaper with the special brush, starting from the inside out to drive out the air. Cut the surpluses at the level of the ceiling and the baseboard, using the smoother and the cutter. Repeat the steps for the rest of the surface. Run the upholsterer wheel over the edges of the lengths to prevent them from rising. Gradually remove excess glue with a damp sponge.
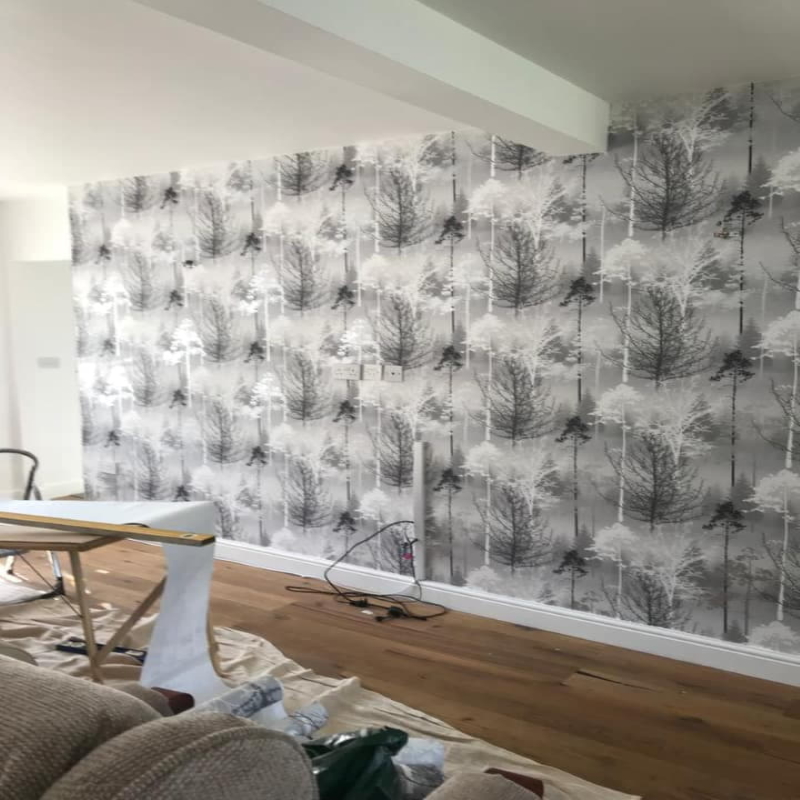
Looking for a professional painting and decorating service?
We are a team of experienced professionals who take pride in our work. We always use the best materials and tools to get the job done right, so you can be sure your property will look amazing when we’re finished.
You may not have time to do all the painting and decorating yourself – let us take care of it for you! We offer a wide range of services that will suit your every need, so you can relax and enjoy your new look without lifting a finger.
Leave a Reply