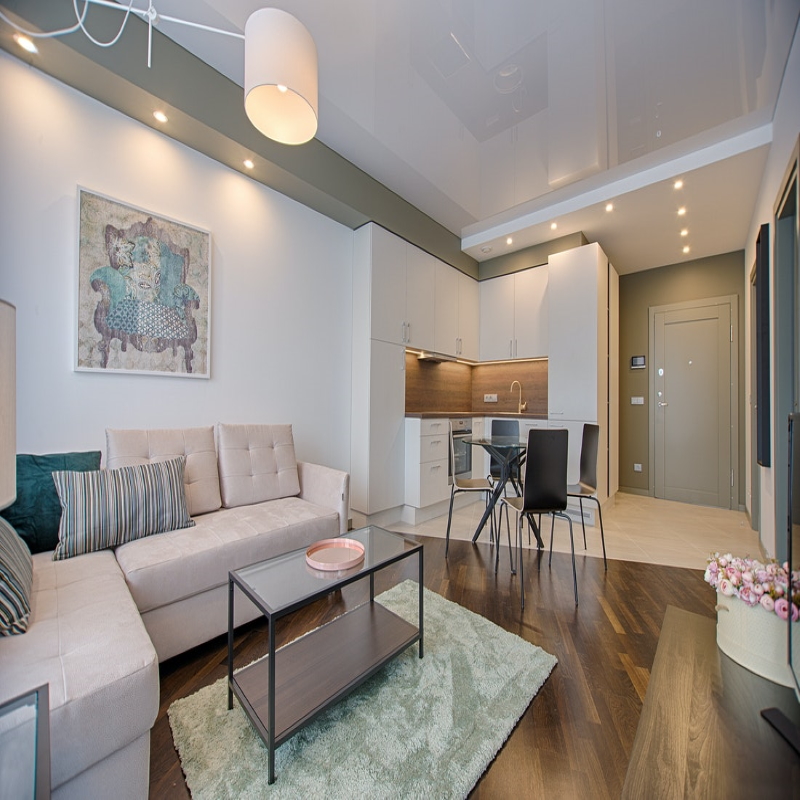
How To Paint Interior Walls
When it comes to ensuring the success of your painting project, there is no more important step than preparing the walls, which includes cleaning, sanding and applying primer before applying the paint.
The best way to paint walls
When it comes to painting interior walls, there are no shortcuts, but following these two rules – prepare the surface properly and take your time – will ensure the success of your painting project. And remember to follow all label directions carefully.
Your project should not prove to be a source of the difficulty. By watching our How to Paint Walls video, you’ll learn how to paint a room and get interior paint tips that will give you great results.
Step #1: Selecting Tools Needed to Paint Walls
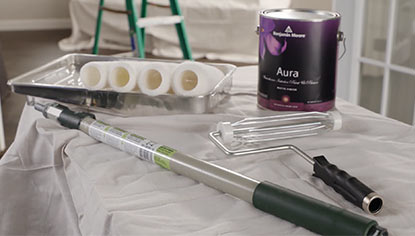
It is important to use the right tools. Here is what you will need:
- high-quality roller:
- use a 10 mm (3/8 in) roller for most finishes
- use a 6 mm (1/4 in) roller for gloss finishes
- use a 13 mm (1/2 in.) or 19 mm (3/4 in.) roller for textured or rough walls
- clean and dry the rollers before using them to remove any loose fibres
Cont. Step #1: Selecting the Right Tools for Painting Walls
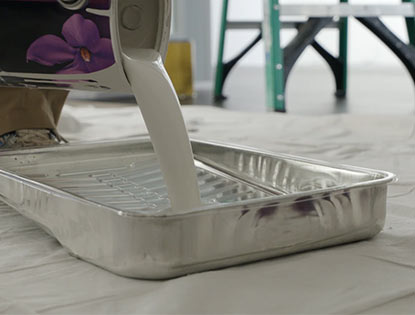
You will also need a paint tray, an extendable pole and a stepladder.
Finally, you will need quality paint, such as Aura ® Interior Premium Paint or REGAL ® Select Interior Paint, a favourite of homeowners and professional painters, or ben ® Interior , a paint specially formulated to easily conceal run-outs and touch-ups.
Step 2: Preparing the walls
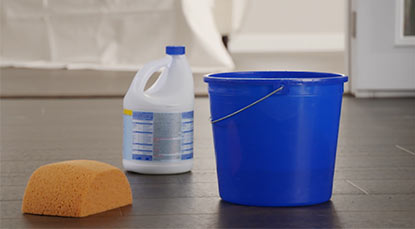
Wall preparation is always critical to the success of any painting project, with the first step being cleaning. Most walls can be washed with a sponge and lukewarm water. Mould, if any, should be completely removed. The second step is the application of a primer. Don’t hesitate to ask your Benjamin Moore retailer for a dark base primer if using a darker colour.
Step 3: Cutting the part
When you plan to paint a room, you must first “cut” it, that is, paint the line of the ceiling, the corners, the windows, the doors, the mouldings, the switches and the electrical outlets.

Step 4: Dip the roller in the paint
In your bin, put a bin cover and carefully pour the paint into it. Dip your roller gradually by rolling it along the raised part of the tray. Avoid submerging it completely. Repeat this movement until the roller is well soaked.
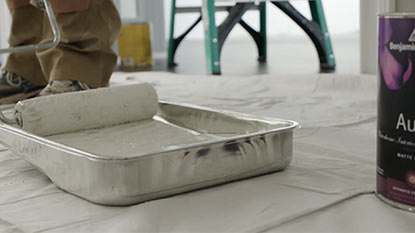
Step 5: Applying the paint with a roller
Start each section by applying the paint from top to bottom, overlapping each part by 7 to 12 cm. Apply light pressure, letting the paint and roller do the work. Too much pressure can lead to the formation of drips.
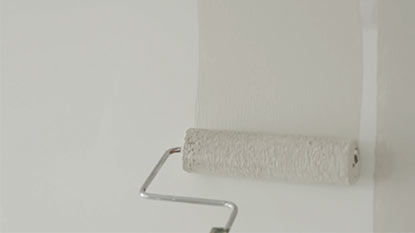
Step 6: Re-dip roller and streak-free application
Each time you put paint back on the roller, apply it to a new part from an unpainted area to a freshly painted area. Your extension rod should be long enough to allow you to easily reach the highest and lowest parts of the walls.
The streak-free application of paint is a technique that is important to master. Start by avoiding painting too large sections at once. By sticking to small areas, you’ll be able to maintain a wet edge — that is, applying paint from an unpainted area to a freshly painted area — and create a smooth finish. avoiding pick-up marks.
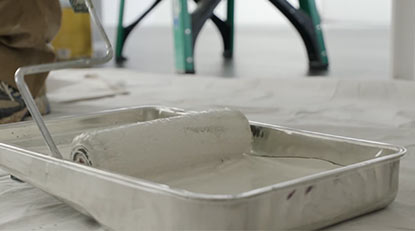
Step 7: Drying, applying a second coat and drying
We recommend applying a minimum of two coats of topcoats to maximize hiding power and promote colour integrity. Check the drying times on the container and wait until the paint is completely dry before applying the second coat. Allow the finish to cure thoroughly before replacing light fixtures, wall outlets or picture frames on the walls.

Looking for a professional painting and decorating company?
We are a professional painting and decorating company that offers a wide range of services to our clients. We have been in the business for many years and have the experience and expertise to get the job done right.
We understand that not everyone is an expert when it comes to home renovations. That’s why we offer a wide range of services so that you can find the perfect one for your needs. We want you to be happy with the end result, so we take our time and make sure that everything is perfect before we call it finished.


Leave a Reply